Resin Printing Your First Miniature: Complete Beginner Guide
Everything you need to know to go from unboxed printer to finished print — exposure settings, support basics, curing, and cleanup.
Welcome to resin printing. This guide covers the full process from the moment you unbox your printer to the moment you hold a finished, cured miniature.
What you need before you start
Before your first print, make sure you have:
- Your resin printer (assembled and leveled)
- At least one bottle of miniature-grade resin
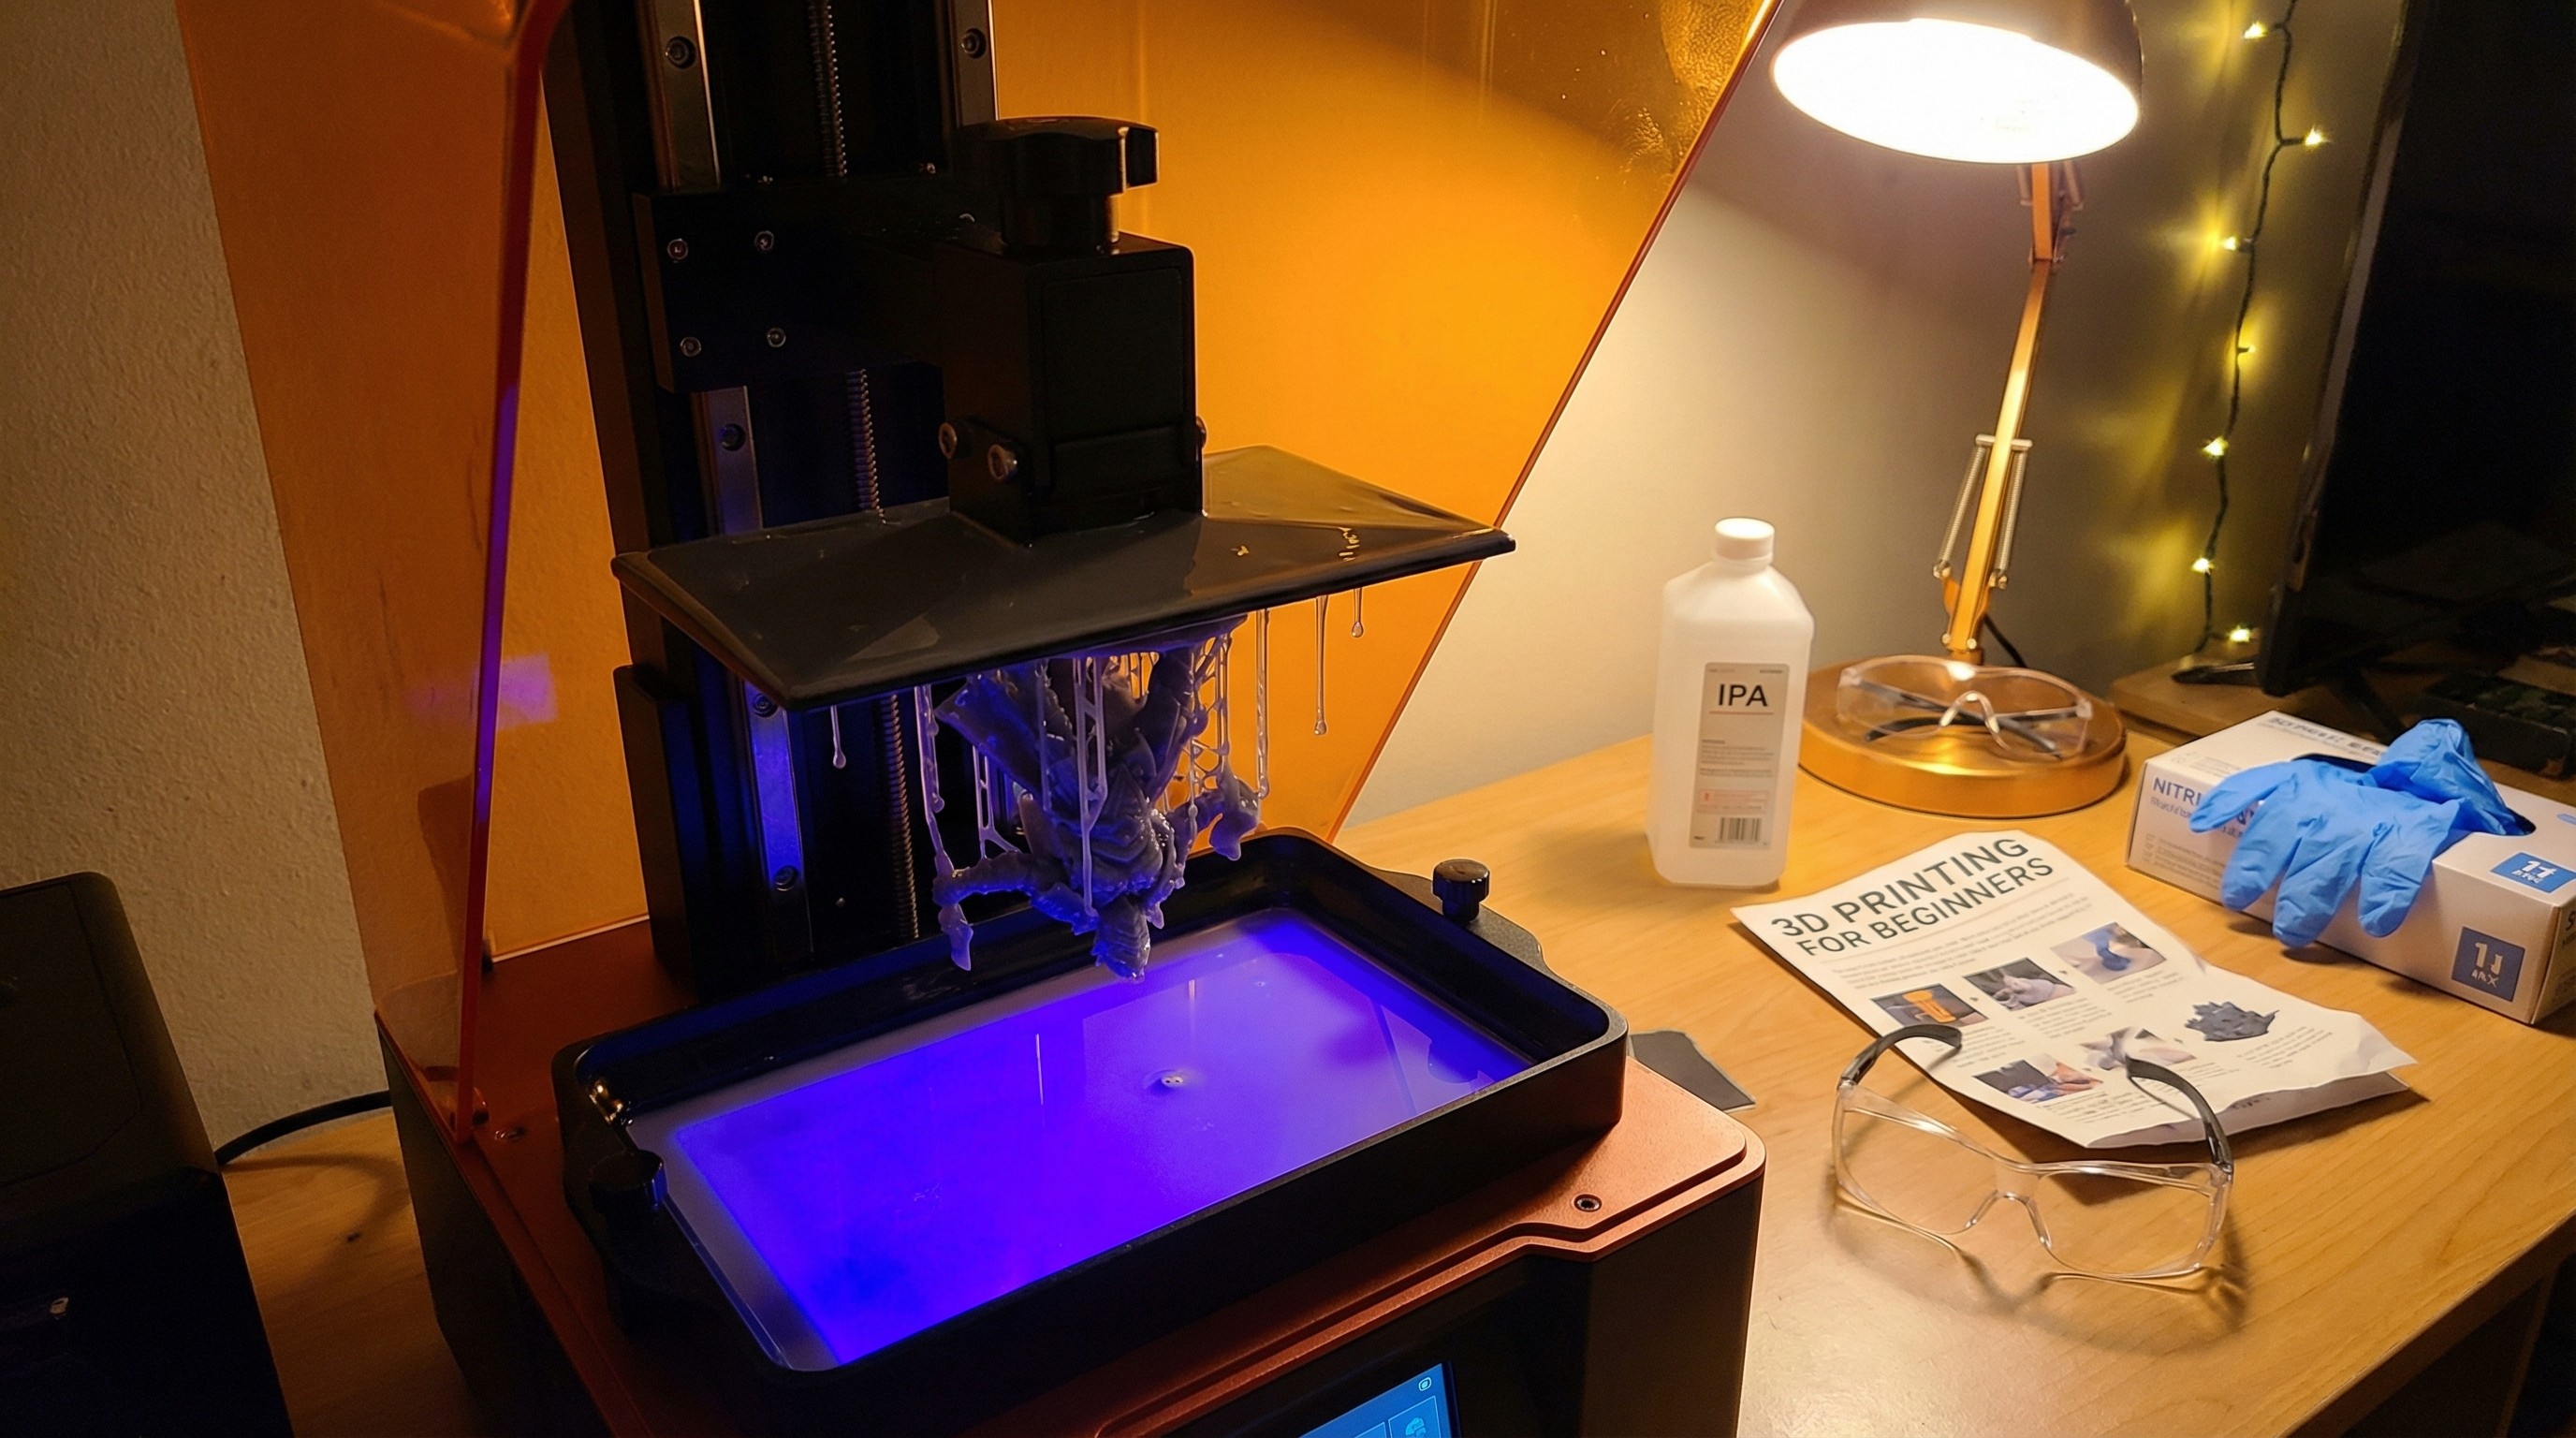
- Nitrile gloves (not latex — resin is a skin sensitizer)
- A respirator rated for organic vapors, or very good ventilation
- Isopropyl alcohol (90%+ for washing) or a water-washable resin
- A UV cure station, or a UV lamp and turntable
Safety is not optional. Uncured resin is a skin sensitizer and potential allergen. Gloves on whenever you’re handling liquid resin or uncured prints.
Leveling the build plate
A level build plate is the single most important factor in successful prints. If the plate is not level, your first layers won’t adhere correctly and every print will fail.
Follow your printer’s manual for its specific leveling process. Most MSLA printers use a paper-leveling method: loosen the build plate, place paper on the FEP screen, and re-tighten while the plate is pressed flat.
Do this before every print session until you’re confident the plate doesn’t shift.
Choosing exposure settings
Exposure settings vary by resin brand, color, and printer. Start with the manufacturer’s recommended settings and adjust from there.
Key settings to understand:
- Bottom layers: Usually 6–12 layers, exposed for much longer (30–60+ seconds) to create a solid foundation
- Bottom exposure time: Longer = better adhesion, but harder to remove from the plate
- Normal exposure time: Varies by resin, typically 2–6 seconds for a 50W light source
- Layer height: 0.05mm for most minis; 0.025mm for extreme detail
When in doubt, run a calibration print like the Resin XP Finder or AmeraLabs town. These small prints tell you exactly where to set your exposure.
Your first print: orientation matters
Minis almost never print flat on the build plate. The correct orientation:
- Tilt the model 30–45 degrees on the longest axis
- Position hollow areas facing down (to prevent suction cup failures)
- Make sure the mini clears the FEP by at least 5mm
Most slicers have auto-orient features. They’re not perfect, but they’re a good starting point.
Supports: the basics
Supports hold your model to the build plate and prevent unsupported sections from failing. For minis:
- Use light or medium supports for most small details
- Use heavy supports for large flat overhangs
- Avoid supports on detail-rich surfaces (faces, chainmail) — orient the model so those areas don’t need them
Auto-supports work for basic prints. For miniatures you care about, manually reviewing and placing supports will give you better results.
Washing and curing
After the print finishes:
- Remove the build plate (gloves on) and let it drain for 30–60 seconds over the vat
- Remove the print from the plate with a plastic scraper or palette knife — careful not to damage it
- Wash in isopropyl alcohol or a dedicated wash station for 2–5 minutes
- Let the print dry completely before curing — residual IPA will cause cloudiness
- Cure for the manufacturer’s recommended time (usually 2–4 minutes under a UV station)
Over-curing causes brittleness. Under-curing leaves the surface tacky and weakens the model. When in doubt, check the resin manufacturer’s cure time.
What to do when prints fail
Prints fail. It’s part of the process. Common failures and fixes:
| Failure | Likely cause | Fix |
|---|---|---|
| Print stuck to FEP, not plate | Exposure too low, plate not level | Re-level; increase bottom exposure |
| Print falls off partway through | Support issues or exposure too low | Add/adjust supports; check normal exposure |
| Layer lines visible | Layer height too high | Print at 0.05mm or 0.025mm |
| Print warped | Exposure too high or incorrect orientation | Reduce exposure; reorient |
| Surface tacky after curing | Under-cured | Increase cure time; check UV bulb |
Your first batch of prints will teach you more than any guide. Adjust one variable at a time so you know what changed.
Next steps
Once you have a clean, cured print in hand, you’re ready to prime and paint. See our painting guide for 3D printed minis for the full painting workflow.
For resin and supply recommendations, check the materials and supplies category.