This article contains affiliate links — if you buy through them, we may earn a commission at no extra cost to you.
Priming resin miniatures is not the same as priming plastic. The surface is different, the prep requirements are different, and some primers that work fine on plastic will peel off resin within a day or refuse to bond at all. If you’ve had primer flake off a finished mini, this is usually why.
The good news is that priming resin isn’t complicated once you know what it actually needs. The bad news is that most primer guides are written with plastic in mind, and the advice doesn’t transfer cleanly.
This guide covers what prep resin specifically requires before primer, which primers bond reliably to resin surfaces, and where brush-on makes more sense than spray — with honest picks for each category.
For the painting workflow that follows priming, see the complete guide to painting 3D printed resin miniatures. For resin selection that affects how well primer adheres, see the best resin for miniatures.
Why Resin Requires Different Prep Than Plastic
When you prime a plastic miniature, you’re bonding to a porous, slightly textured surface. The primer has microscopic mechanical purchase points. It bites in.
Cured resin is smooth and chemically inert. The post-cure surface has no porosity — it’s a closed system. Primer that relies on mechanical adhesion alone will bond poorly, especially on flat faces, bases, and any area with low surface texture.
The other factor is surface contamination. Uncured resin is oily and chemically active. Even after washing and curing, resin surfaces often retain a thin film of release agents, IPA residue, or UV-inhibitors used in some resin formulas. Primer over contamination doesn’t stick — it’s just waiting to peel.
Resin prep before primer has two real requirements:
1. Full cure. Partially cured resin is still slightly tacky and chemically reactive. Primer over undercured resin doesn’t bond properly and can cause soft spots that never fully harden. Run your full post-cure cycle before priming. If you’re not sure your cure times are right, add a few more minutes — overcuring is almost always better than undercuring for primer adhesion.
2. IPA wash and dry. After curing, give the mini a 60-second scrub with fresh IPA and a soft toothbrush, then let it dry fully before priming. This removes surface contamination, mold release residue, and any resin film that the initial wash missed. Some hobbyists skip this step; some get away with it. But it’s the single most reliable fix for primer adhesion problems and takes less than two minutes.
Optional but useful: a very light scuff with 400-600 grit sandpaper on large flat areas (bases, flat armor plates) gives the primer something to grip mechanically in addition to chemical adhesion. Don’t sand detail areas — you’re not trying to reshape the surface, just add some tooth to the flattest parts.
Spray Primer vs. Brush-On: Which to Use
Both work. The choice depends on your setup, the model, and how many minis you’re priming at once.
Spray primer covers faster, penetrates tight areas more evenly, and dries faster. The risk is overspray — too thick a coat from too close fills fine detail. The fix is multiple thin passes from 10–12 inches away, letting each pass flash-dry before the next.
Brush-on primer gives you control over coat thickness, doesn’t require a spray area or ventilation, and is better for touch-ups and intricate pieces where you want to avoid filling recesses. The risk is brush strokes in the dried primer if you overwork it. Apply thin coats, work fast, and don’t go back over drying primer.
The models that benefit most from brush-on: high-detail faces, filigree and fine scrollwork, anything where the recesses define the look. The models that benefit most from spray: full units of infantry where speed matters, large terrain, anything with broad flat areas.
The Recommendations
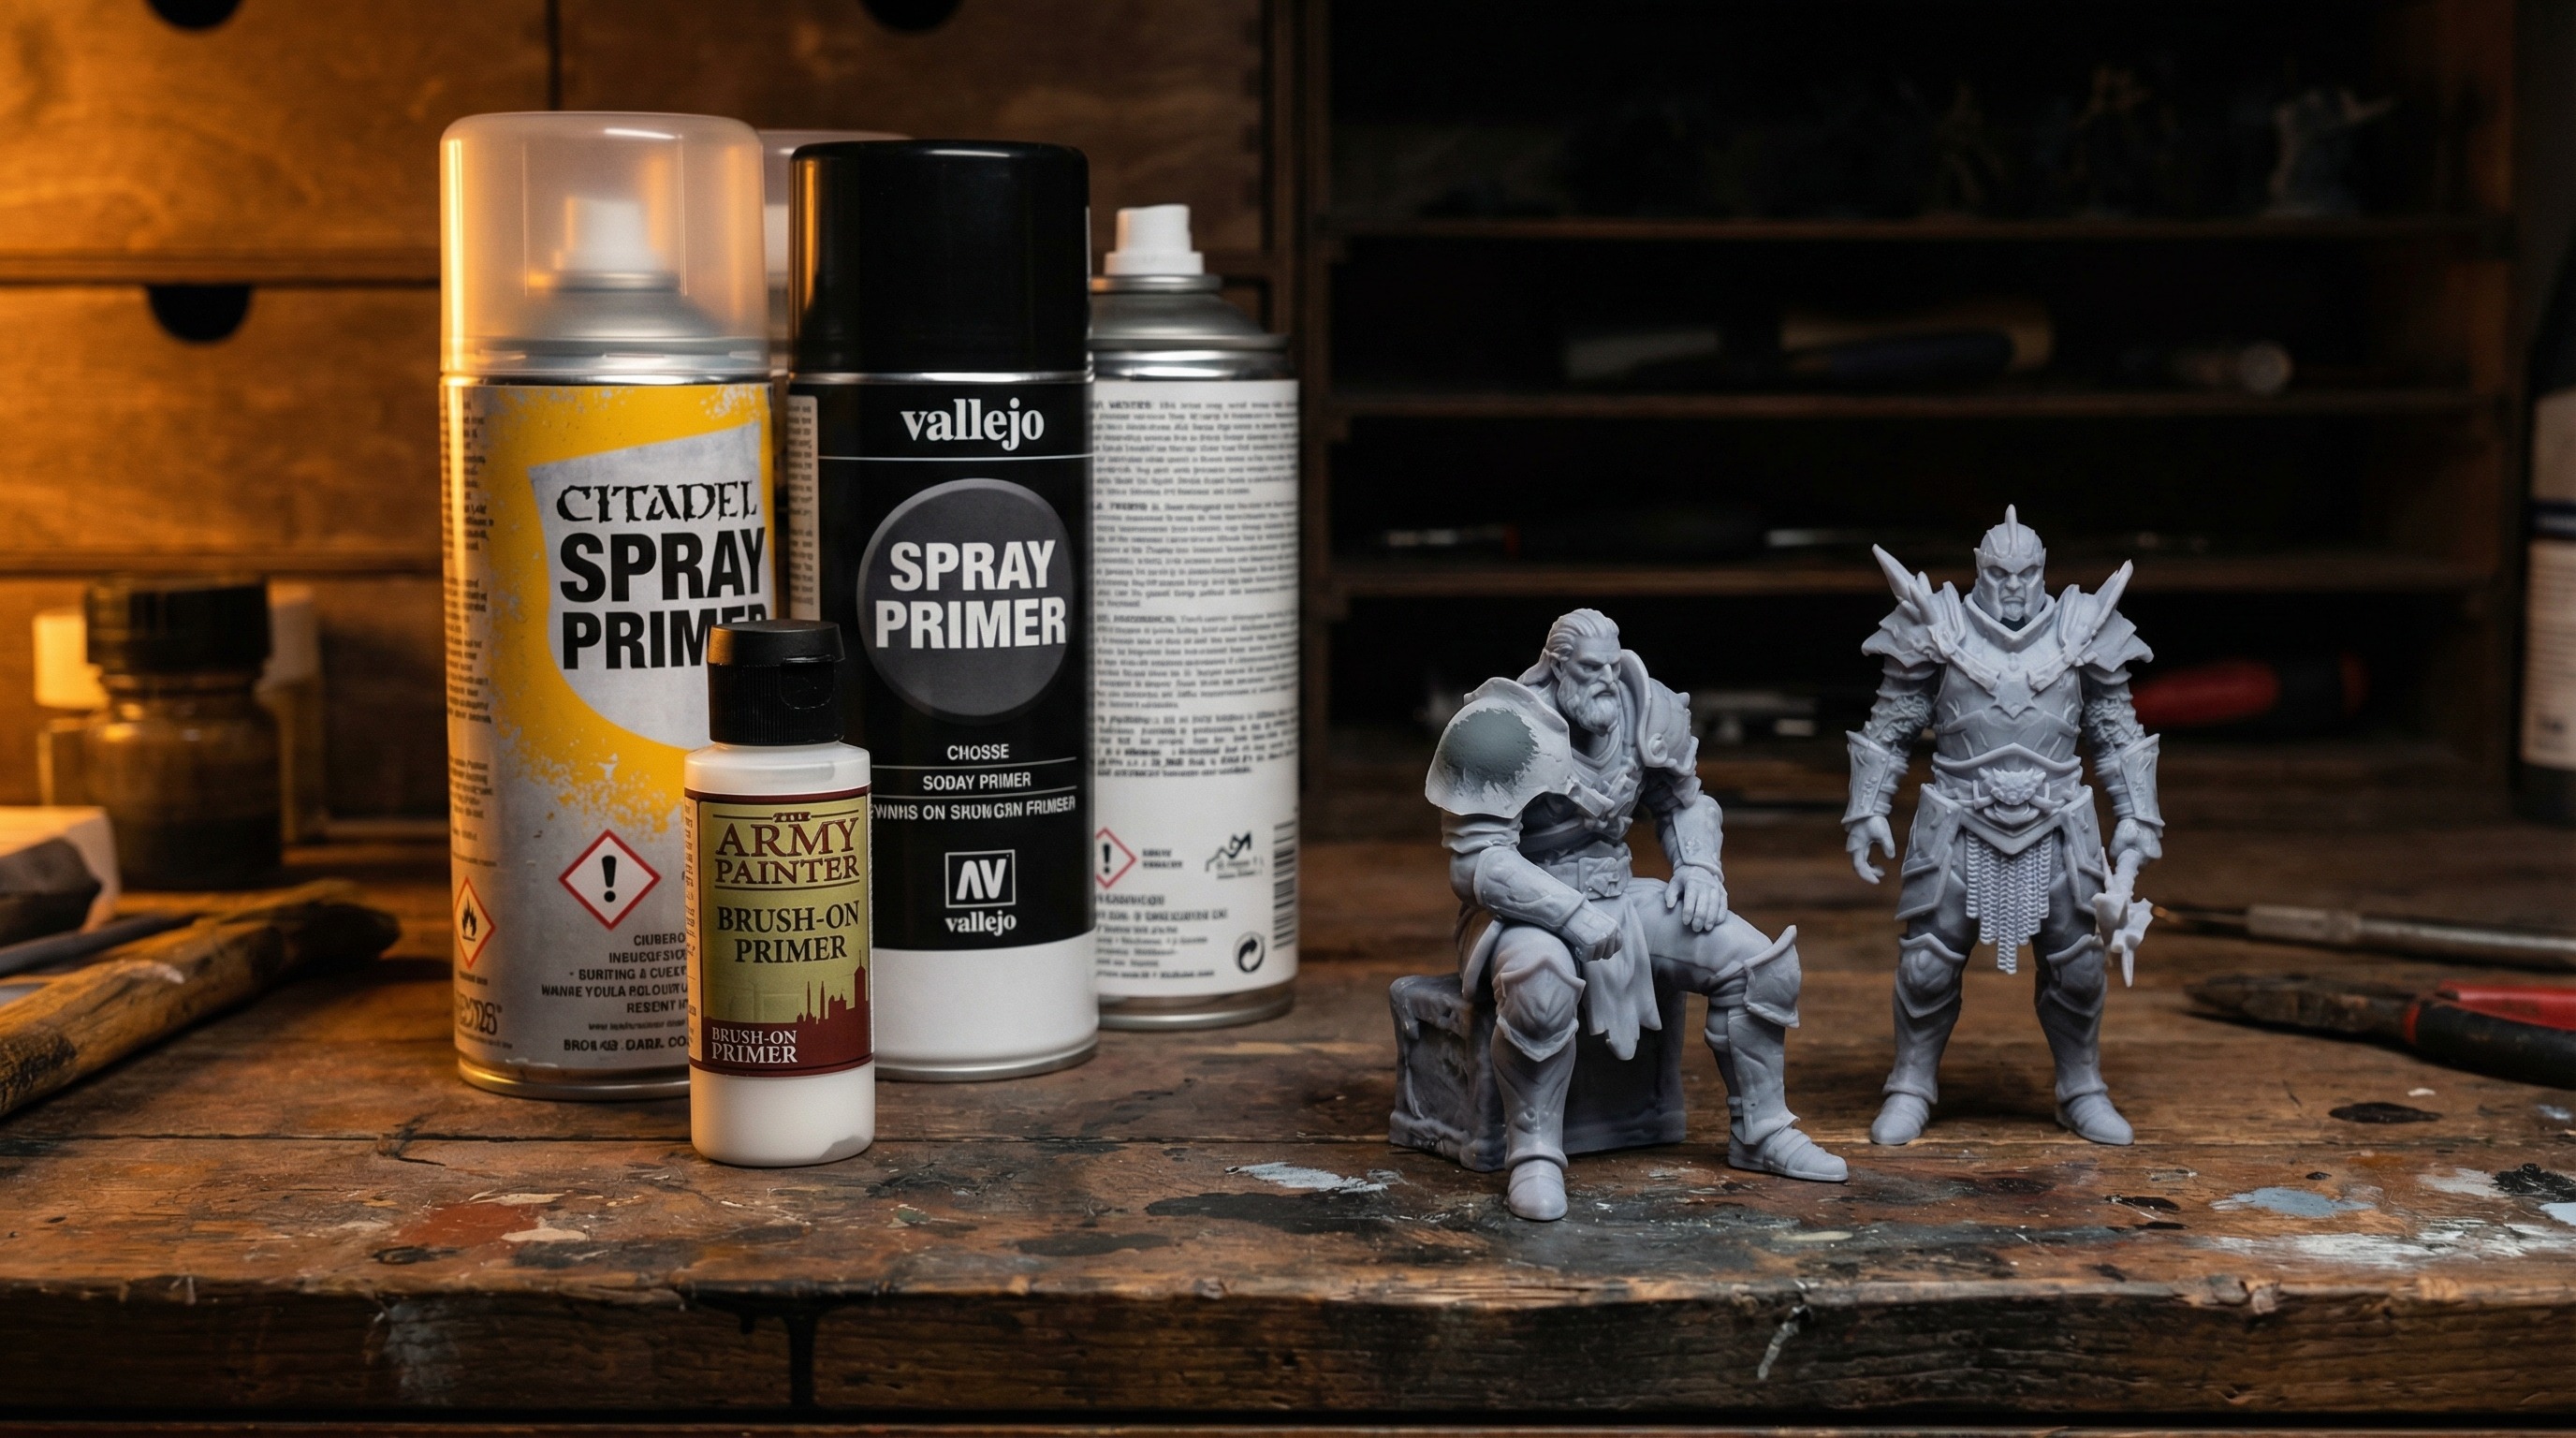
Best Overall: Vallejo Surface Primer
Vallejo Surface Primer is the recommendation I keep coming back to. It’s formulated for resin and metal, not just plastic — that distinction matters. Adhesion to cured resin is reliable in a way that generic spray primers are not, and it’s available in an unusually useful range of colors (grey, white, black, German grey, dark grey, brown, and a few others).
The brush-on version applies thin and smooth without brush marks if you work quickly. The airbrush-ready version thins well and doesn’t need much adjustment for typical hobby airbrush pressures.
What’s good:
- Designed to adhere to non-plastic surfaces including resin and metal
- Available in grey, white, and black — the three colors most painters actually use
- Thin coat means it doesn’t fill detail even on faces and fine work
- Dries fast (20–30 minutes to handling, 2 hours to fully paint-ready)
- No special prep beyond the resin surface prep described above
What’s worth knowing:
- Brush-on only (no aerosol can version) — you need either a brush or airbrush
- Thicker than some primers out of the bottle; can thin with water 5–10% if you want an even thinner coat
- More expensive per ml than aerosol options, but the coverage rate is high
Approximate cost: $5–$8 for 17ml, $9–$14 for 60ml.
Best for: Anyone using a brush or airbrush who wants a primer confirmed to bond to resin. The grey version is the right starting point for most painting workflows.
Best Spray Can: Citadel Chaos Black or Wraithbone
Citadel spray primers work on resin. They’re not the cheapest option, but they’re consistent — the nozzle size and pressure are calibrated for fine work, which matters when you’re priming a 28mm face and don’t want a flooded eye socket.
Chaos Black is the standard. It produces a thin, matte, slightly toothy surface that basecoats and washes key into well. For dark-scheme armies or anything that will have a lot of shadows, black primer is the correct starting point.
Wraithbone is the cream/bone primer released for contrast paint workflows, and it’s legitimately good for minis that will be heavily highlighted or use lighter base colors. The warm off-white base changes how subsequent colors sit, so it’s not always the right choice — but for display pieces or anything using the contrast/speed paint workflow, it’s worth it.
What’s good:
- Available in any game store; easy to replace mid-project
- Nozzle calibrated for fine-detail coverage
- Consistent pressure across the can (doesn’t weaken at low fill like cheaper brands)
- Both colors work as functional undercoats, not just adhesion layers
What’s worth knowing:
- Expensive for a spray can ($15–$18 each)
- Cold temperature issues — below 15°C/60°F the propellant behaves badly; spray indoors
- Only two colors with wide availability (other Citadel sprays have more inconsistent stock)
Approximate cost: $15–$18 per can. Amazon or local game store.
Best for: Hobbyists who want a spray can and care about detail preservation. Worth the price premium over hardware store primers for anything smaller than terrain.
Best Budget Spray: Armory Primer (White or Black)
For volume priming — large units, terrain batches, anything where you’re coating 20+ pieces at once — Armory primer is the budget-conscious pick that still performs on resin. It’s not as fine-calibrated as Citadel, but at roughly half the price and with a larger can, the economics make sense for batch work.
Key difference from Citadel: the nozzle pressure is slightly higher, so technique matters more. Keep it at 12+ inches and use short, moving passes. Don’t try to cover in one pass. At the right distance with the right number of passes, it primes well without fill.
Approximate cost: $8–$12 per can.
Best for: Batch priming terrain and unit infantry where per-model cost matters more than absolute precision.
Best for Touch-Ups and Airbrush: Badger Stynylrez
Stynylrez is a water-based acrylic surface primer that was designed for airbrush application from the start. It’s thinner than Vallejo Surface Primer out of the bottle and plays well with a wide range of airbrush setups without much adjustment.
The adhesion on resin is excellent — better than most spray primers in my experience. The formula bonds chemically rather than relying on texture, which is exactly what you want on smooth cured resin surfaces.
Where it really earns its place: touch-ups after assembly or conversion work. Brush-on Stynylrez on a repaired area matches the surrounding primer texture better than rattle cans, which tend to leave a slight texture difference around the edge.
Available in black, grey, neutral grey, white, and a few colors.
Approximate cost: $8–$12 for 2oz, $12–$18 for 4oz.
Best for: Airbrush users who want the best adhesion on resin; anyone doing frequent conversions and touch-up priming.
Comparison Table
| Primer | Type | Best For | Resin Adhesion | Cost |
|---|---|---|---|---|
| Vallejo Surface Primer | Brush-on / Airbrush | Detail work, reliable adhesion | Excellent | $5–$14 |
| Citadel Chaos Black/Wraithbone | Spray can | Detail spray work | Very Good | $15–$18/can |
| Armory Primer | Spray can | Batch priming terrain/units | Good | $8–$12/can |
| Badger Stynylrez | Airbrush | Airbrush workflow, touch-ups | Excellent | $8–$18 |
Primer Colors: The Actual Tradeoffs
The primer color affects how your base coats look, not just how the primer performs. This matters more than most tutorials acknowledge.
Black primer creates stronger contrast. Shadows are darker, highlights pop more, and you can leave recesses unbasecoated and they’ll read as shadow. Works best with bold, high-contrast painting styles. Harder to cover with light colors — yellows and whites over black are a multi-coat project.
Grey primer is neutral and flexible. It doesn’t bias toward dark or light. Most tutorial workflows default to grey because it behaves predictably with any basecoat color. Grey in the 50% lightness range (not light grey, not dark grey) is the correct call if you don’t know yet what painting style you’re developing.
White primer produces the brightest basecoats and makes light colors easier to achieve with fewer coats. The tradeoff is that shadows are harder — you have to create them entirely with washes and shading rather than relying on primer depth. For painters working with contrast paints or one-layer techniques that rely on shadows pooling in recesses, white primer is the correct starting point.
Beginners who are genuinely unsure: use grey. It’s the forgiving choice that keeps options open.
The Primer Failure Checklist
If primer is peeling, chipping, or not adhering, run through this list before buying new primer:
Did the resin fully cure? Partially cured resin doesn’t take primer properly. Extend your cure time and try again.
Did you wash with fresh IPA? Used IPA saturated with dissolved resin deposits leaves residue. Fresh IPA for the pre-prime wash.
Did the IPA fully evaporate? Priming over wet IPA causes adhesion failure. Let it dry for at least 10 minutes after washing.
What temperature were you priming in? Cold surfaces cause spray primer failures. Below 15°C, the propellant behaves differently and the primer doesn’t atomize correctly. Prime at room temperature.
Was the can shaken long enough? Spray primer separates in the can. Two full minutes of shaking, not ten seconds.
Did you apply too thick a coat? Heavy primer application cracks, chips, and peels. Multiple thin coats, always.
Frequently Asked Questions
Can I use regular hardware store primer on resin minis? Sometimes, but not reliably. Hardware store primers (Rust-Oleum, Krylon) are formulated for metal and wood. Some work on resin by accident; many don’t bond properly. Hobby-specific primers are formulated for the surfaces they’ll be used on. The failure rate on resin with hardware store primer is high enough that it’s not worth the cost savings on a model you just spent hours printing.
Do I need to sand resin before priming? Not usually, and not on detail areas. A light scuff with 400-600 grit on large flat surfaces can help adhesion, but the IPA wash and full cure are more important. Don’t sand faces, fine detail, or anything with delicate features.
How long should primer dry before painting? Brush-on primer: 1–2 hours minimum, 4–6 for full cure. Spray primer: 30 minutes to an hour for handling, but give it 2 hours before painting if you want the primer fully hardened. Rushing this step causes paint to lift when you apply washes.
Will primer fill detail on resin? It can, if applied too thick. The fix is thin coats from the correct distance (spray) or with the correct dilution (brush-on). A single thin coat of good hobby primer will not measurably fill detail at 28–32mm scale.
Should I prime resin before assembly or after? After assembly for most pieces — primer hits crevices and joins and covers glue residue. The exception is models where interior areas won’t be visible after assembly; prime those subassemblies first, then assemble and spot-prime the joins.
The full painting workflow -- what to do with a primed mini, from basecoat through highlights -- is in the guide to painting 3D printed resin miniatures. If you’re still deciding what resin to print with, the best resin for tabletop miniatures covers the material choices that affect surface quality before you ever open a primer can. For the full accessories list -- gloves, flush-cutters, IPA, and everything else to have on hand before your first print session -- the resin printer accessories guide covers it all. Primer sprays in enclosed spaces also benefit from proper ventilation; the resin printing safety guide covers the setup.